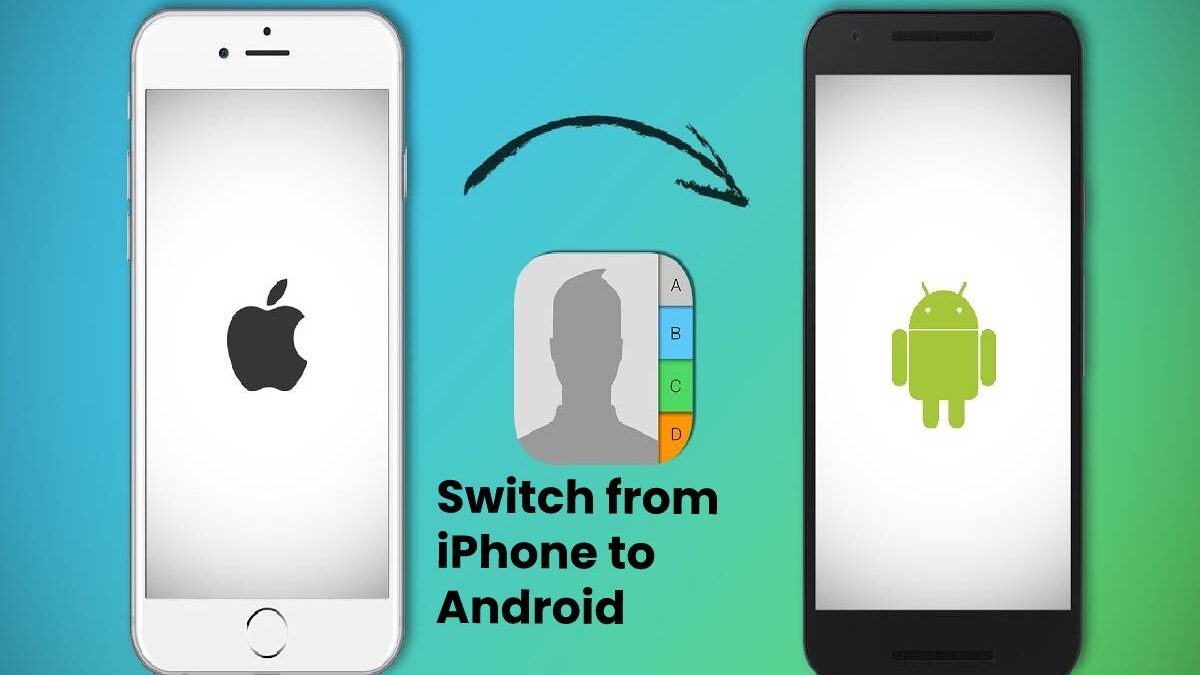
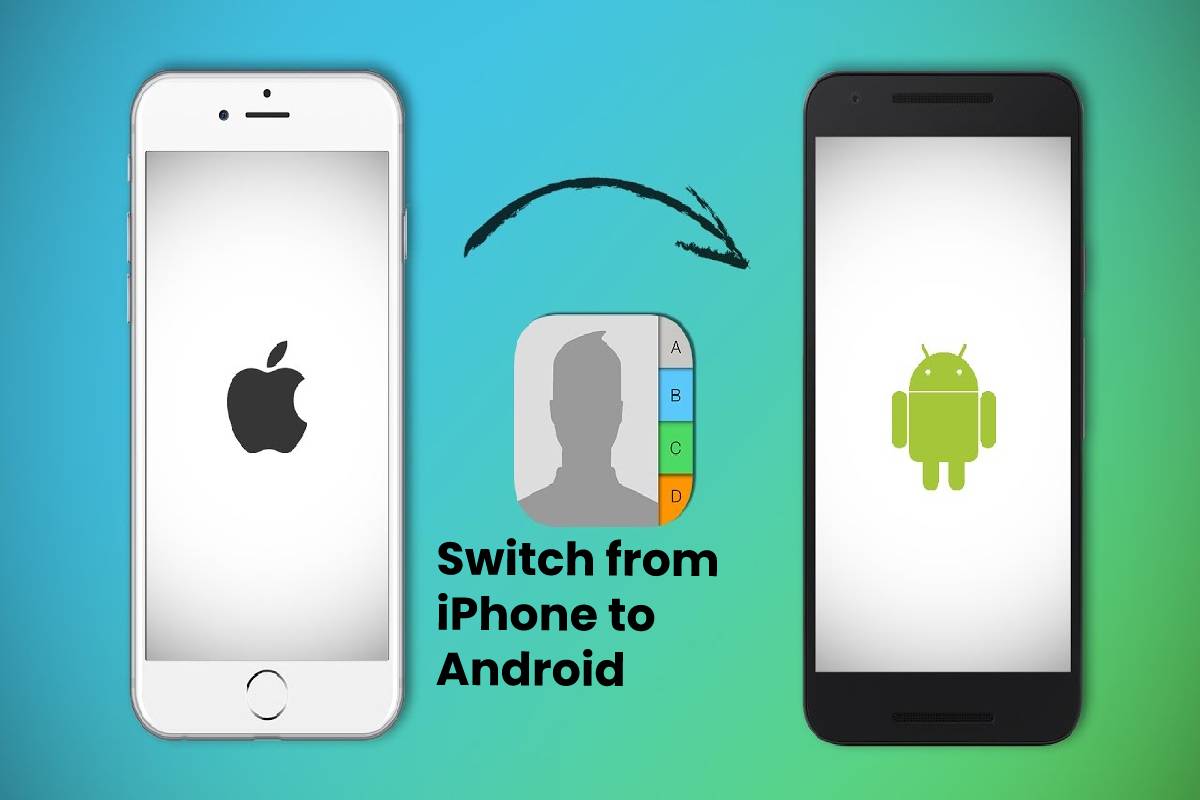
Switch from iPhone to Android isn’t as problematic as you might expect, but it may require some preparation on your part to go smoothly. It’s also easiest if you give your suitable a bit of a spring clean before you move.
After all, why mess up your new Android with old junk you not ever even looked at on your iPhone?
Table of Contents
How to Switch from iPhone to Android?
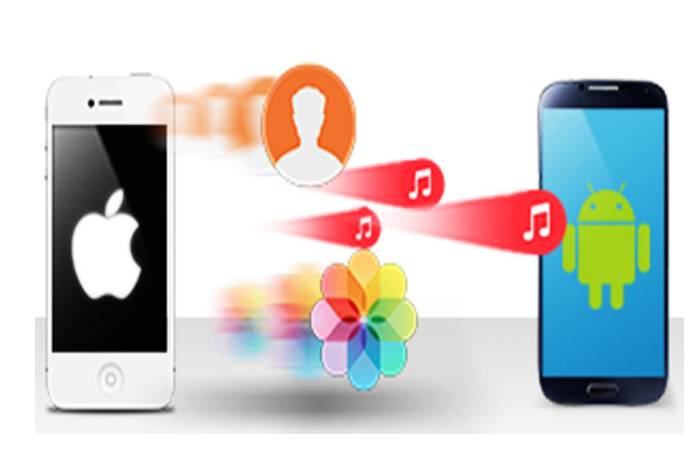
Before you usual up your Android phone, make sure your iPhone files are ready to transfer over by following the steps below:
Step 1: Back up Information on Google Drive
- The Google Drive app types it easy to transmission three key kinds of data switch from iPhone to Android: your contacts, calendar, and camera roll.
- Connect the app, sign in to your Google account (or make a new one if you don’t previously have one) and then go into Settings > Backup.
- If you don’t want to back up a specific kind of data, such as your calendar, then you can switch it off here.
- Watch out for the photograph section because there are two options: if you want to upload your photos in original quality, they’ll count towards your Google Drive storage limit.
- If you select High Quality instead, the rate will be lower (yes, it’s confusing), but the difference is hardly noticeable, and you get limitless storage for those photos.
- If you’re willing to accept somewhat lower quality, Google offers limitless photo storage. And also, if you poverty to upload the originals, they’ll originate out of your storage quota.
- You won’t need the talent to back up iCloud IDs using this method. For that, you’ll have better luck transferring these documents to a computer than uploading them to Google Drive manually.
Step 2: Back up or Transmission your Photos
- When you trigger your new Android phone, you’ll have the choice to sync it to your old iPhone over Wi-Fi or cable. At that point, you can physically transfer ended all of your iPhone photos (and additional files) to your new phone.
- If you own gibibytes of photos, that transfer might take hours and delay you from playing with your new phone.
- Thankfully there are different ways to accelerate this process, one of which is the Google Drive backup option above.
- If you currently save your photos backed up on iCloud, resetting your iPhone could cause all of your photos to be deleted. So it would help if you considered transferring your iCloud pictures to Google Photos.
- The Google Photos app is likely to store your new Android photos, and its AI tools for forming and optimizing images are super useful.
- Smooth if you don’t use iCloud, you should reflect downloading the Google Photos iOS app and directly support up your photos to it before moving your other data.
- You can also haste up this process by erasing your iPhone photos in bulk before backing them up, so you’re only saving the ones you want to keep.
Step 3: Convert your Contacts
- If you’d rather not do it finished the Google app, you can export your contacts physically from your computer.
- If you use iCloud sync for your data – and you almost certainly do because it’s on by default – you can log into iCloud.com and exportation data from there.
- To export your associates, go into the Contacts unit and look for the gear icon at the bottom left of the screen.
- Click it, choose Choice All, then click it again and select Export vCard. This will transfer a vCard file to your processer.
- Now, go to contacts.google.com and sign in. Appearance at the lowest left of the shade, where you’ll see the Introduction link. Click on that to choose the vCard file you just transferred.
- If you didn’t clean up your associates before exporting them, you could fix any duplicates by clicking on Merge and Fix.
- This gets Google to scan your associates for copies and the most up-to-date contact information.
- You can export a subsection of contacts, too: use the Search field to find the contacts you want to export, then click on settings > Select All > Export vCard.
Step 4: Move your Music
- If you use a music streaming facility for your music library, you don’t need to worry: Spotify, Apple Music and the rest have an Android app, so you can download them and start cyclosis.
- Apple Music for Android is also valuable if you have a large iTunes library. Promise to Apple Music and select iTunes Match, and Apple will upload a list of songs that you own, then let you download them on your devices – including your new Android phone.
- You can too upload your Apple Music for Mac / Windows library to YouTube Music. At that link, sign in to your Google account, and from there, you can drag-and-drop your Apple Music/ iTunes .m4a files.
- They’ll upload to your account, in which opinion you can listen to them all finished the YouTube Music app. Save in mind that, like with Apple Music, you’ll need to subscribe to YT Music to listen to your library easily.
- If you’re hoping to transmission your iTunes/ Apple Music playlists to a new streaming app, services like Soundiiz or Tune My Music can help automate that process.
- If you want to store your local music files on Android, wait until you’ve fully set up your phone. Then you’ll want to transfer a third-party app that specializes in local music files, then connect your phone to your computer and share your music files manually.
- Your best-paid option is Poweramp, an extremely popular music app that supports most file kinds and has robust EQ settings. For a simple, free choice, try Music Player GO.
Step 5: Synchronize your Switch iPhone and Android phone.
- Now that you back up your files, you’re ready to twitch setting up your Android phone. Please turn it on and follow the provided steps.
- Whether you’re utilizing a Pixel, Galaxy, OnePlus or somewhat else, at some point, you’ll ask if you want to copy apps and data from an old phone to a new one.
- Samsung, for example, a tool called Smart Change that automates the iPhone-to-Android transmission, while Google will poverty you to pull in files from Drive.
- At this point, you’ll have the choice to attach your two phones via a Lightning-to-USB-C cable – or more likely, a USB to USB-C adapter connected to your Apple USB charging chain.
- If you don’t have these, you can in its place attach the two devices over a communal Wi-Fi network.
- You can then choose what data you want transferring switch from iPhone to Android. Hopefully, you’ve sponsored up most of your data, so this won’t take too long.
- Still, this is handy since your Android phone can notice all iOS apps you have downloaded, then offer to transfer all available Android apps mechanically to your App Drawer.
Step 6: Sign into/ Download your Spare Apps
- The greatest of the big-hitter apps you know and love from iOS are obtainable on Android, though both bio networks have their exclusives. iOS has Apple Arcade; Machine has Google Play Permit.
- Doubt you selected to introduce your iOS apps to Android, you should compare your list of apps on both headphones and make sure they all transferred over properly.
- If they didn’t, you’d essential to go to the Google Play Store and start looking for replacements.
- Some of your iOS apps won’t support transmission over mechanically because they’re paid apps.
- In most cases, an app you bought on iOS will not be available for free on Android – so the game you paid $4.99 for in the iOS App Store will be another $4.99 if you want to play it on Android.
- Otherwise, some apps may be exclusive to iOS, in which case you’ll need to find an equivalent app to take its place.
- We’ve calm the best Android apps to replace them, organized them into photography, design, education, entertainment, fitness, music, productivity, customization, and weather.
Step 7: Sync your Browser Bookmarks
- If you’re already using Chromium on switch iPhone to android sync with Chrome on your desktop computer, you don’t feel it essential to worry about this step.
- But if you’ve been using the standard Safari browser on your iOS expedient, you’ll need to exportation your bookmarks. Safari syncs with the desktop type, so go into that and select File > Export Bookmarks.
- You can then import them into Chromium on your desktop, then sync with Chrome on your Android device.
- It’s significant to note that this will not export your stored passwords or autofill entries, so make sure you’ve got a note of any PINs you need to keep.
- Always make sure you’ve restricted Find My Phone, signed out of iCloud and erased all of your information before selling or passing your iPhone or iPad on.
Step 8: Disable iMessage
- If you change your SIM card and phone number over to an Android phone without rotating off iMessage, then your new phone may have trouble getting text messages from other iPhones.
- Essentially, Apple will still reason your phone number belongs to an iPhone, so manuscripts sent from iMessage will only be clear in iMessage – which isn’t available on Android.
- If you’re following our guide, you must still have your iPhone. Go into your phone Settings and scroll unhappy to find both ‘Messages’ and ‘FaceTime’.
- In both hierarchical menu, toggle the choice to turn both of them Off. This will free your upcoming phone from any weird Apple mix-ups.
- If you already removed or dealt with your phone, don’t despair. Go to Apple’s Deregister iMessage page and arrive at your phone number near the page’s bottom.
- You’ll obtain a 6-digit confirmation code; submit it, and Apple will do somewhat on the backend to free your new telephone from the iPhone tag.
Step 9: Turn off Discovery My iPhone, then Erase It
- If you’re moving all your stuff because you’re selling or giving away your device, you must do two things: turn off Find My Phone and factory reset your iPhone.
- And also, if you don’t do the previous, then the next owner won’t be able to use the device; if you don’t do the latter, it’s a possible privacy disaster.
- We can’t stress this enough: don’t remove your phone until you know that you have everything you essential on your new device. Erasing an iPhone or iPad is permanent, so it’s always astute at checking absolutely everything first.
- When you’re sure everything’s okay, go to Settings and tap on your profile info at the top.
- Now, tap on Find My and usual Find My Phone to ‘off’. Go back to the main Locations menu, scroll down to Over-all and tap on Reset. Now, tap on Erase All Gratified and Settings.