
What is Advertising? – Concepts, Phases, Techniques, and More
What is Advertising? Advertising is a means of distribution in which various organizations, companies, individuals, NGOs, etc. They try to…
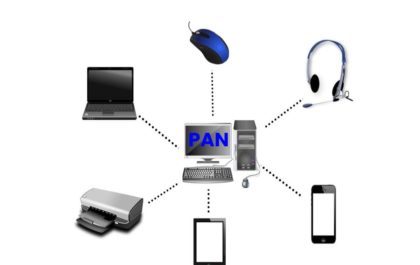
Personal Area Network – Definition, Uses, Benefits, and More
Personal Area Network Definition A personal area network (PAN) is a network of computers organized around a person and is…